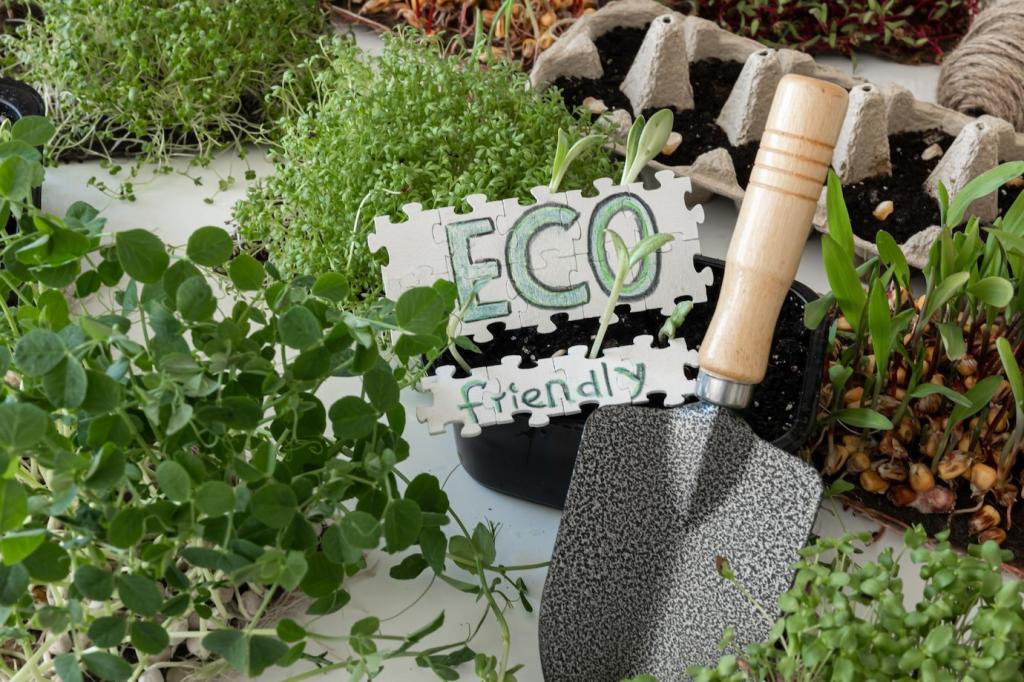
Composting for Home Renovation Waste: From Clean Scraps to Living Soil
Chosen theme: Composting for Home Renovation Waste. Discover practical ways to turn clean, plant-based renovation leftovers into nutrient-rich compost while keeping contaminants out, saving money, and inspiring a lower-waste home makeover.
Balancing Carbon and Nitrogen with Sawdust and Yard Greens
Sawdust ranges roughly from 200:1 to 700:1 carbon-to-nitrogen, so pair it with greens like grass clippings, coffee grounds, or fresh prunings. Aim near 25–30:1 overall. Start with one part greens to one to two parts sawdust by volume, then adjust by smell and temperature. Tell us your favorite balancing mix.
Balancing Carbon and Nitrogen with Sawdust and Yard Greens
Renovation sawdust is bone-dry. Pre-wet layers until they feel like a wrung-out sponge. Soak shredded cardboard first, drizzle water as you build, and cover to prevent evaporation. Our test pile stalled until we soaked leaves overnight; the very next day, steam rose and the thermometer climbed past 135°F.
Crushed, unpainted drywall core is calcium sulfate, which can add calcium and sulfur and help flocculate heavy clay when used sparingly. Keep additions very low—think dusting layers rather than scoops—and blend widely so no pockets form. If your soil already has plenty of calcium, you can skip gypsum entirely.
Anaerobic conditions plus gypsum can generate hydrogen sulfide, a rotten-egg gas. Keep piles well-aerated, avoid adding gypsum to wet, compacted manure heaps, and limit it to under five percent of total volume. If you smell sulfur, stop, turn the pile, and discontinue gypsum. Safety first beats experimentation.
Keep a small, clearly labeled bucket for clean, unpainted drywall scraps. Crush finely, sprinkle lightly across layers, and never mix with joint compound dust. If you are unsure about paint or additives, choose dedicated drywall recycling instead. Share your local recycling option in the comments to help others.
Labeled bins that make the choice obvious
Use color-coded bins: Clean Wood Shavings, Cardboard and Paper, Yard Greens, and Not Compostable. Place them within five steps of cutting and unpacking zones. Clear labels and a lid on the greens bin reduce odors and mistakes. We cut contamination by half with this setup—share your bin labeling tips.
Contractor buy-in with a two-minute toolbox talk
Explain what qualifies, why it matters, and how the system saves time and dump fees. One foreman messaged after week one: “The crew likes the bins—less sweeping.” Offer a quick reference card and a high-five board for participation. Post your script in the comments to help others kick-start adoption.
Neighbors, ordinances, and good manners
Keep piles tidy, lids closed, and pathways clear. Check local composting rules and consider an enclosed tumbler for small lots. Avoid late-night turning that clanks and clangs. A friendly note to neighbors with your project timeline can work wonders. If you have a great template, share it below.
Raised bed success with sawdust-balanced compost
Maya saved five bags of pine shavings, blended with autumn leaves and café grounds, and logged temps averaging 135°F for four weeks. Four months later, her compost fed kale and herbs that outperformed last year’s crop. Tell us what you grew with your remodel compost—and what ratio worked best.
Flattened appliance boxes shredded into perfect browns, improving airflow and water retention through summer heat. The pile stayed active without daily watering and eliminated three costly dump runs. If you tried this trick, share your shredding method and whether you noticed fewer soggy or compacted spots.
Carbon accounting that feels tangible
Eight contractor bags of shavings can represent roughly thirty pounds of carbon-rich material diverted from landfill. Fewer trips, lighter loads, and less methane risk downstream. Track your diversion and post your totals. We’ll highlight a reader’s monthly tally in our newsletter—subscribe for a chance to be featured.
Advanced and Experimental Approaches
Build at least one cubic yard to reach 131–160°F and sanitize weed seeds. Layer greens and sawdust daily as the job progresses, then turn every three to five days. Keep a temperature logbook and adjust moisture on the fly. Want our tracking sheet? Subscribe and we’ll email a ready-to-print template.